


Homemade Dried Herbs, The NEW Fresh!
When I cook, I cook like I was always taught. Just throw it in. Who needs measuring spoons when you can just eyeball it. When I cook, I love cooking with herbs. I’m always trying out new mixtures and combos through out homemade dinners. I have to admit, dried herbs aren’t nearly as good as fresh herbs. Fresh herbs just give off a different smell, taste and color to the food you throw it in. What if I told you that you could have that same fresh taste through dried herbs? Well, guess what? YOU CAN! By drying your own fresh cut herbs. Don’t just grow herbs for a ‘use as needed’ basis. Grow them for harvesting and drying. You will look at dried herbs in a whole new way.
Let me be clear, nothing tastes better than fresh herbs, but if you dry them yourself, you don’t get any closer to fresh herbs than that. Your taste buds will be shocked once you taste the meal that you tossed your homemade dried herbs into. For example, the other day, I made homemade guacamole. My husband thought there was fresh cilantro in it. There wasn’t any fresh cilantro, but there was homemade dried cilantro in it. Now that you get the picture, let me show you how to do this all by yourself. It is super easy, and your family/friends will really appreciate it!
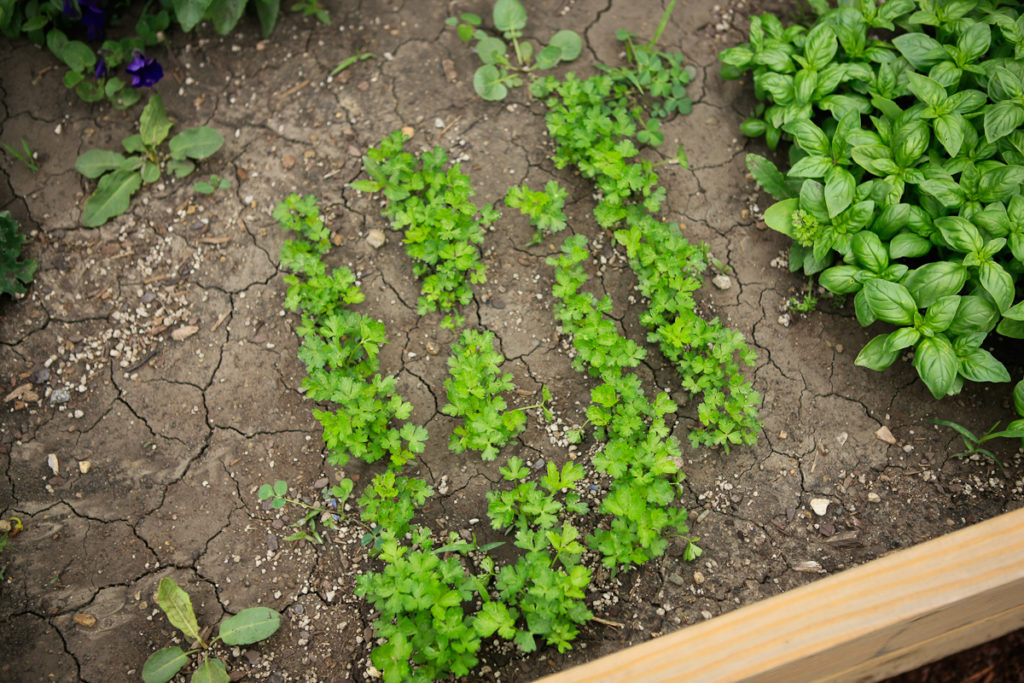
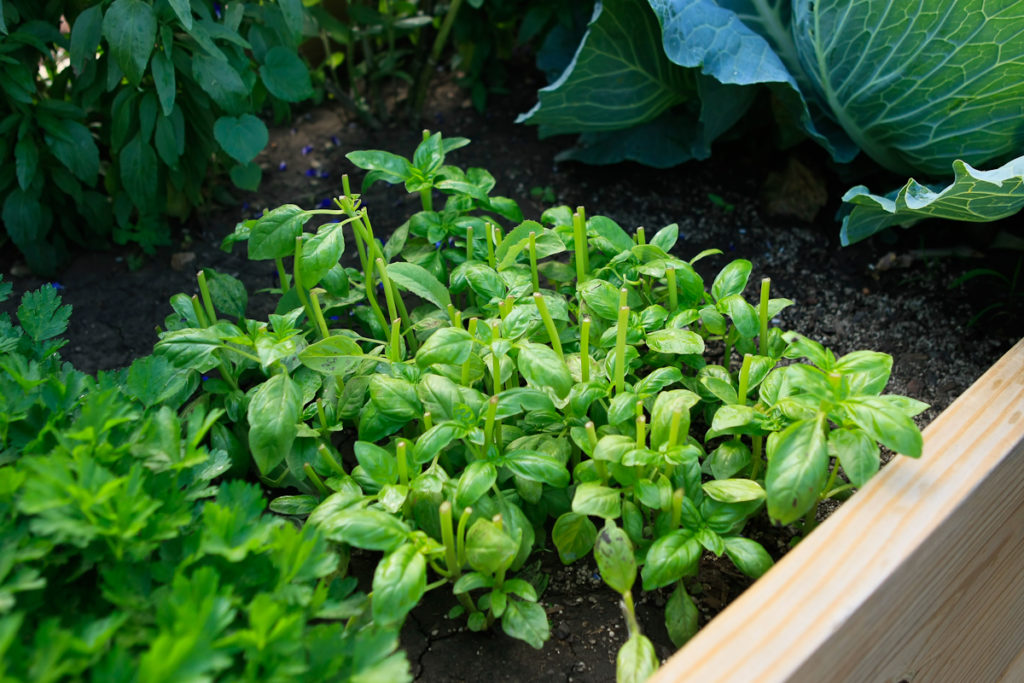
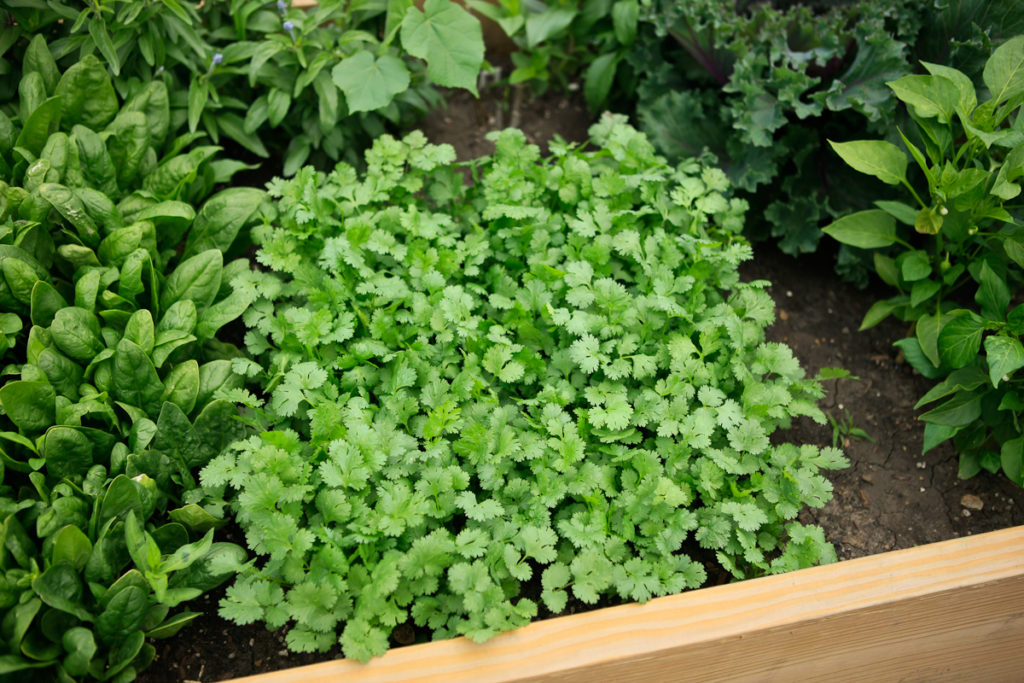 At the beginning of the season, I don’t go and buy herb plants. I buy seeds. Herbs perform and produce best when they are seeded directly into the soil. If you are going to be cutting and drying your herbs, you will want to seed a little patch like I have shown in the images. This way, you can dry a few batches throughout the season, of each variety. If you don’t plan on cutting and drying your own herbs, then buying herb plants may be the way to go. As soon as your herbs are looking really bushy, that is the time to cut. You don’t want to wait until they get too tall, otherwise they seed out and they are finished. You can still cut them down all the way and hope for some to return again, but the stems will be larger and harder for fresh use. Once you cut them, they will just continue to replenish over and over until the end of the season. In these photos, I show my parsley just coming up after a few weeks of being seeded, and right before the first harvest. I always cut everything, except for one small corner. That way, I still have some for fresh use.
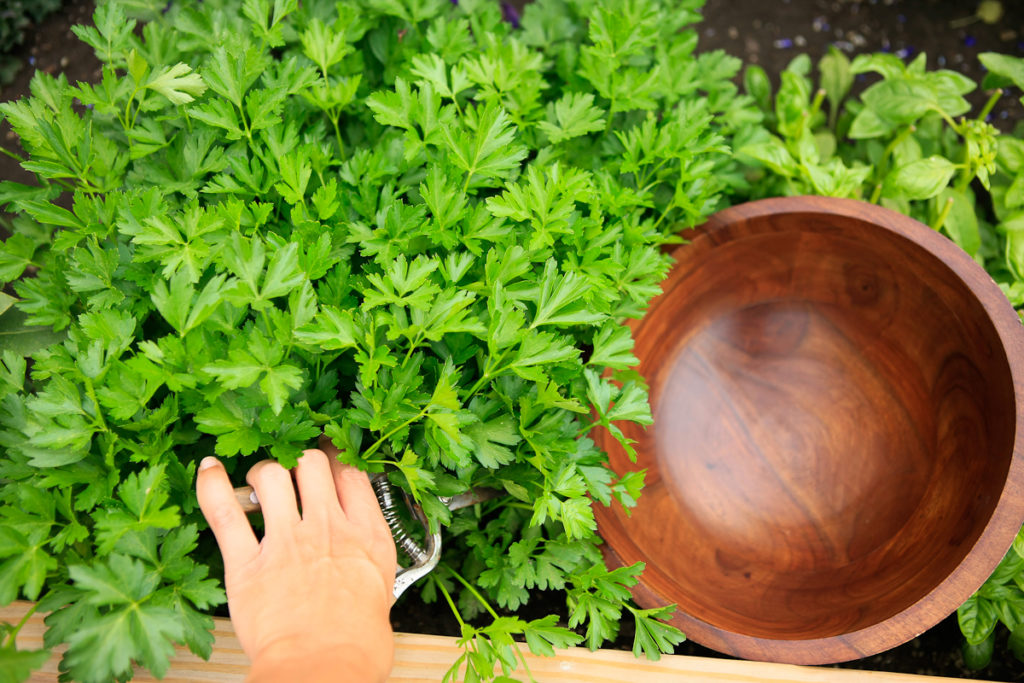
Once my herbs are ready to be cut, I grab my clipper and a bowl, and go to town. 
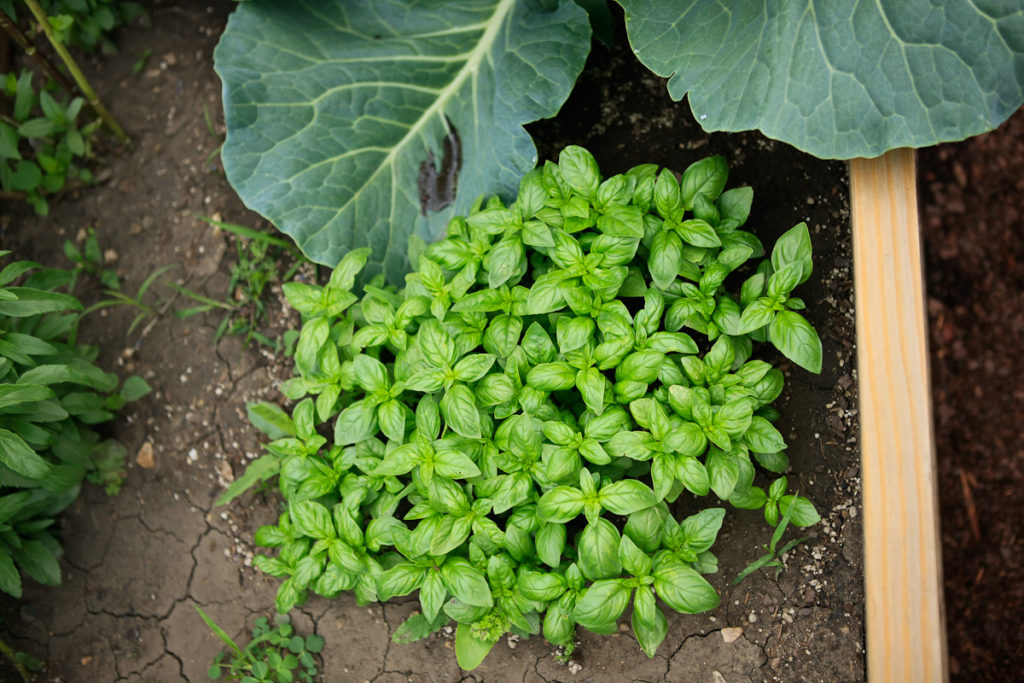
This is what the herbs look like before cutting, and then what they look like after cutting. I used Basil as my demonstrator. As you can see, I didn’t cut my basil all the way down to the ground. I like cutting them this far and leaving a little bit of growth. I feel they produce better and bush out faster for another round of drying.
Before Cutting.
After Cutting.
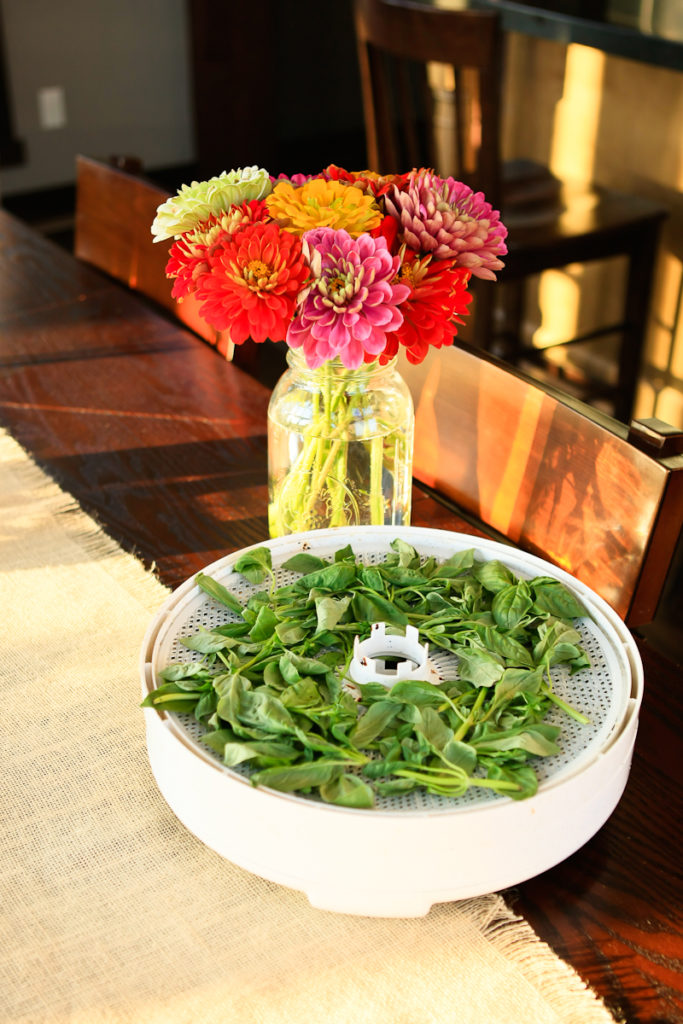
My next step is to bring my herbs into the house and rinse them. I then lay them out to dry, or just blot them lightly with a rag or paper towel.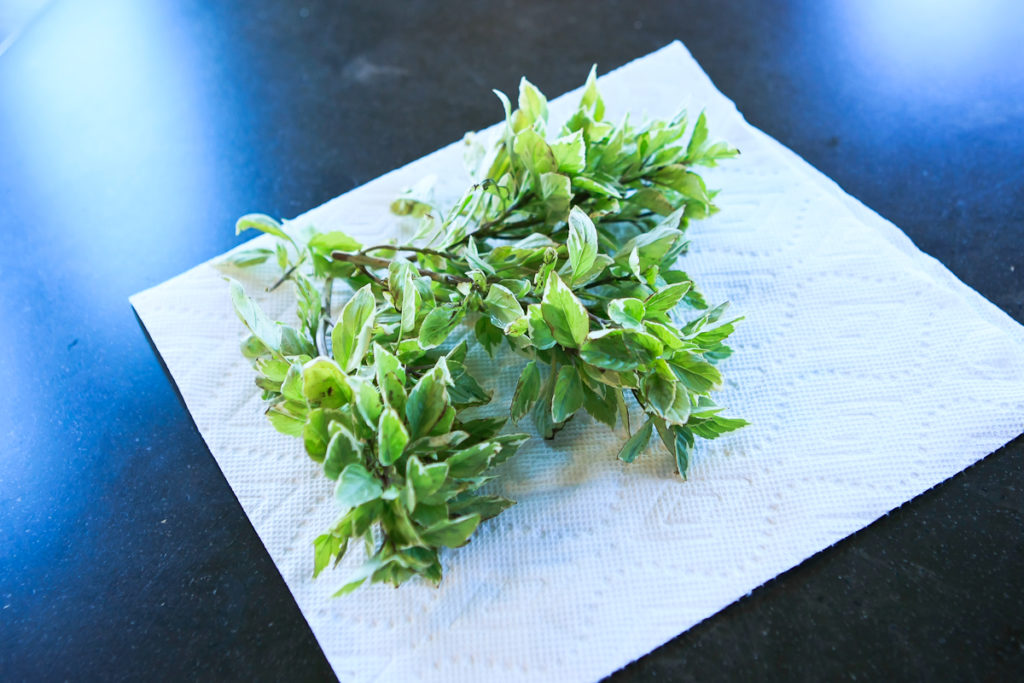
I then place them in my dehydrator on the racks.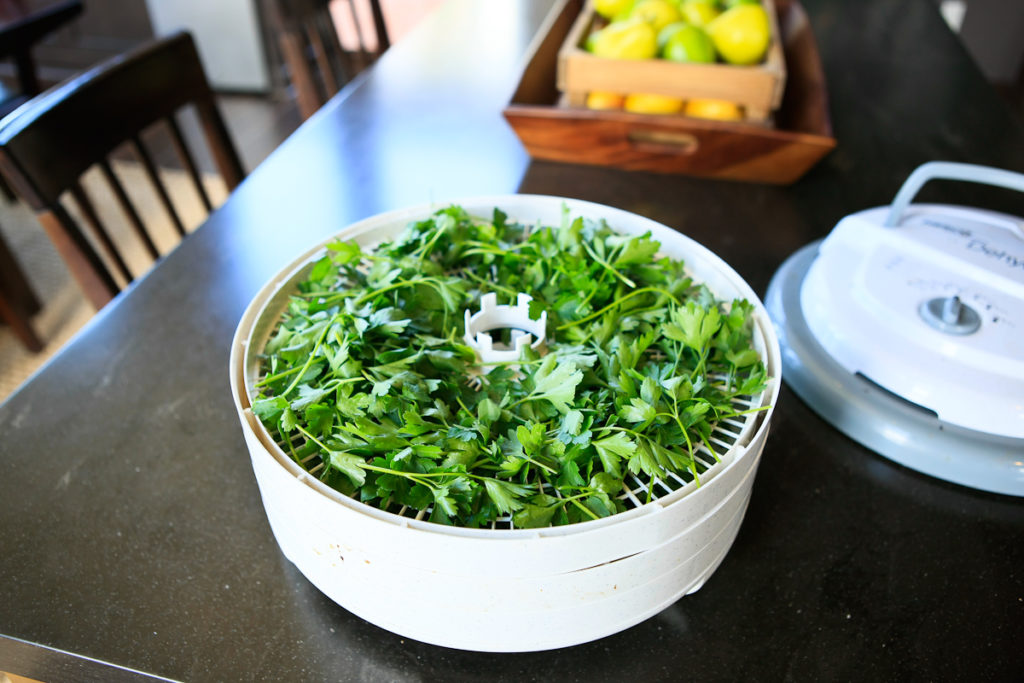
I place the cover on top, and set the temperature to 95 degrees F.
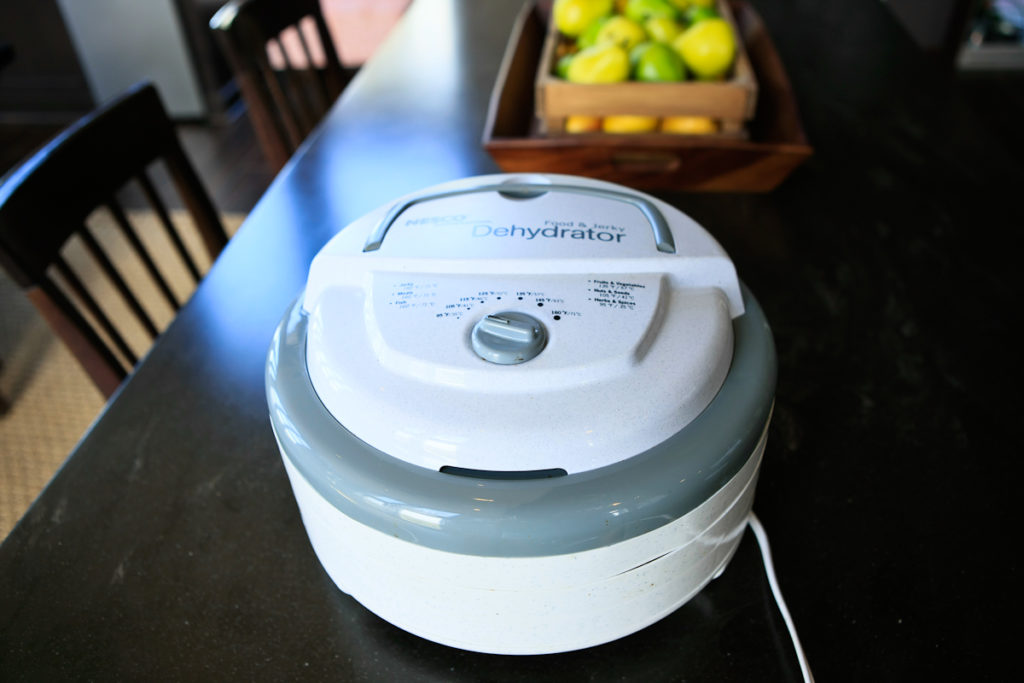
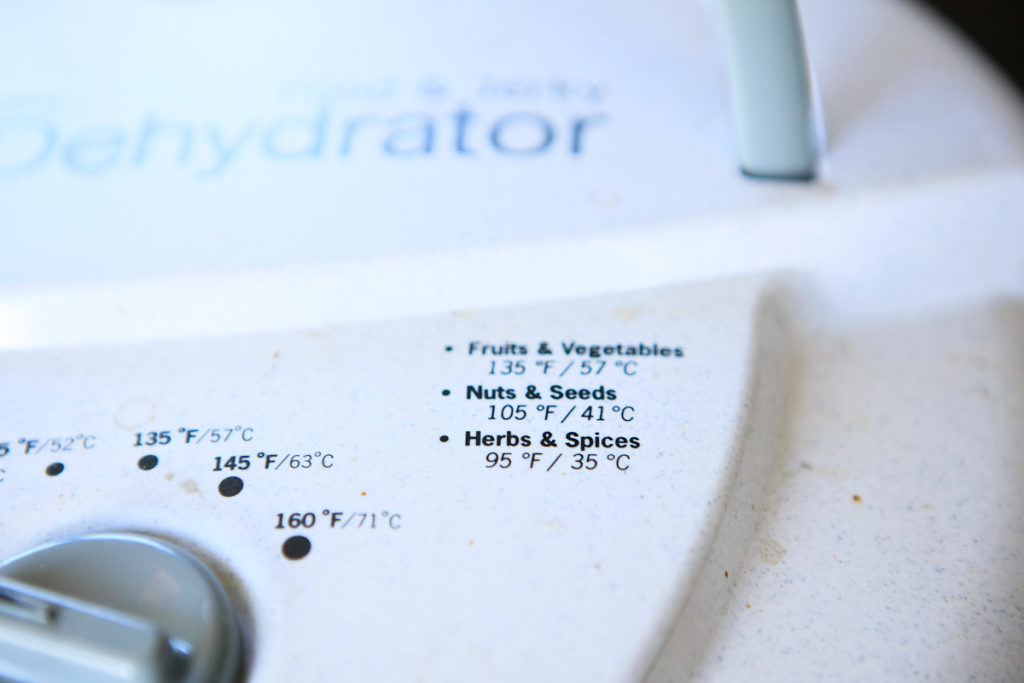
Every variety of herbs takes a different amount of time in the dehydrator. For example, I have found that cilantro and parsley take 24 hrs. Whereas Basil, having a thicker, larger leaf, takes 48 hrs. If you are unsure, just check it every 8-12 hrs and feel the texture. If it feels crunchy, then it is done. If the leaves still have a little movement and some sign of moisture remaining in the leaf, then it still needs more time.
Halfway through it looks wilted.
Once it is all done, remove a little bit at a time. “Shuck” it into a bowl. (Shuck, meaning, removing the leaves from the stem.) Use your fingers, or an herb mill, and grind it to the consistensy you like your dried herbs to be. I pick out some of the remaining bits of stem that are tougher or sharp because I use my fingers. If I used an herb mill, I would leave them in, and run them through it. Once you get it ground up, them place it into a sealed jar.
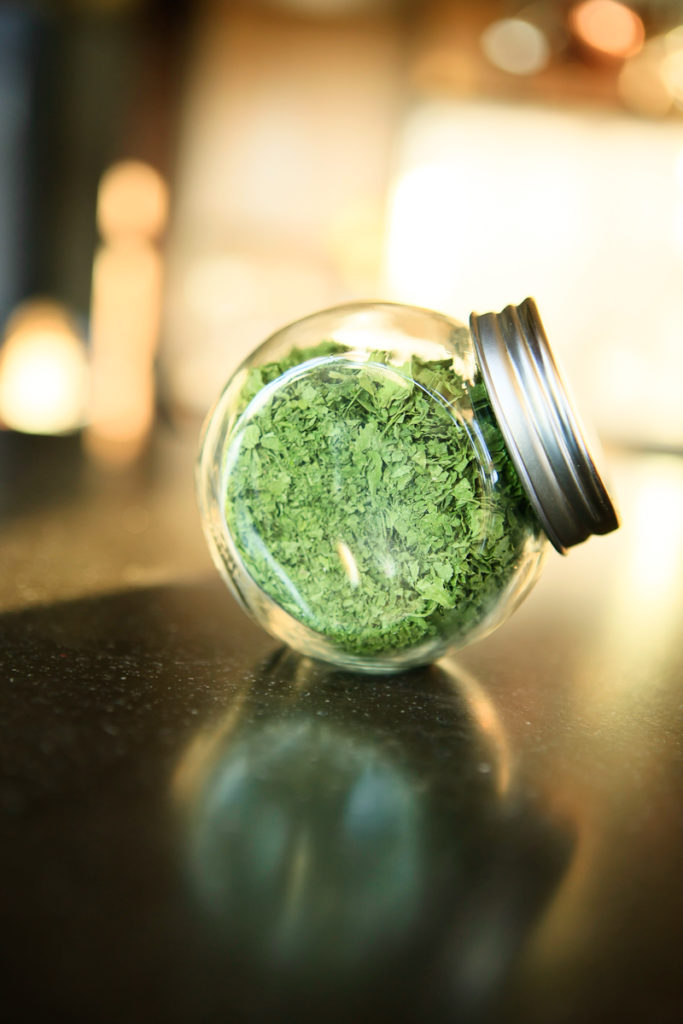
Once you place your homemade dried herbs into a jar, then you are done! Now you are ready to enjoy your fresh dried herbs!
I hope you enjoyed this article and lesson as much as you enjoy your fresh dried herbs! To receive more articles, like this one, feel free to subscribe! Thank you for visiting caseylynnlawrence.com