


How to Grow Tomatoes
There are always so many questions on how to grow tomatoes. Well guess what? With tomatoes, less is more! From what I gathered through the many questions and conversations I’ve had with all of you, has brought me to just one conclusion. You are just doing too much! The more you tend to your tomatoes, the more problems you end up having. I will make this super simple for you. No big words or terms you don’t understand. That’s all boring anyway. Growing your own vegetables and fruit should be fun, not difficult. Now, let me give you the knowledge you will need this year for growing tomatoes, not babysitting them!
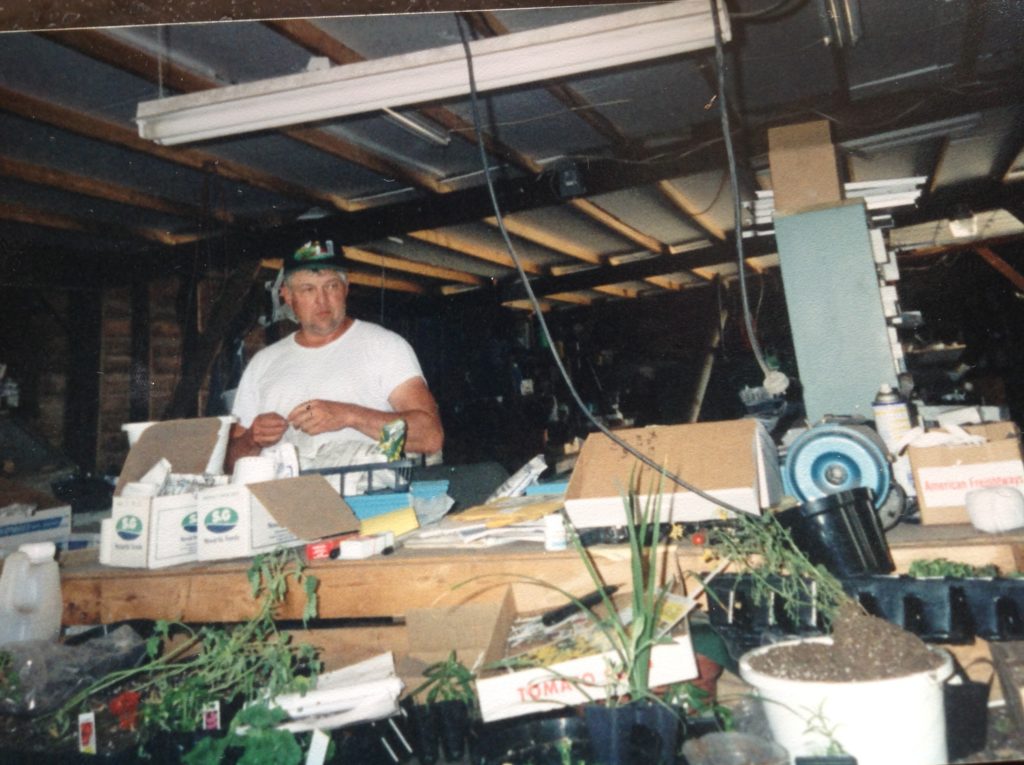
Farmer Wayne, owner/operator Wayne’s Daughters Greenhosues, seeding tomato plants.
First, go to your local greenhouse and buy tomato plants. Pick out the varieties that you’d like to grow. If you like to seed your tomatoes, then I suggest you start your seeds indoors, the third week of April. That way your plants will produce fruit on time for you to enjoy in the Summer. You can also seed directly in the ground after we are clear of frost, but keep in mind, you won’t have fruit on those vines until Late Summer.
A common question that I get often is, ‘how do I know if a plant is healthy?’ I always say, ‘if it is green!’ I usually have people ask more questions after I answer that one. ‘What if it’s lanky?’ ‘What if there are yellow leaves?’ ‘Do I pinch it?’
Now, don’t get me wrong, these are all great questions. I do plan on answering these for you, but these questions, are where the problems begin. Too much overthinking.
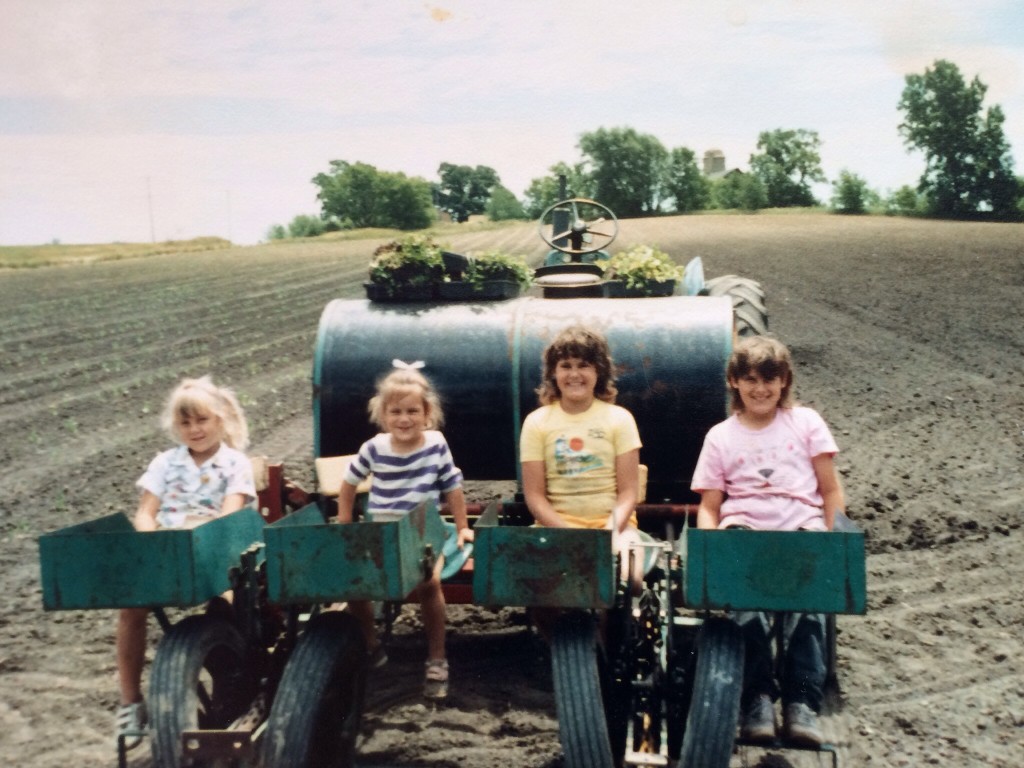
Planting Tomatoes on the planter. I’m the second one in on the left.
Growing up on a farm, and planting fields of tomatoes, we didn’t have time to think about if a ‘plant was too big’, ‘should we pinch it’ or ‘oh no, there’s a yellow leaf on this one!’ We just planted it, and we never babysat it once. Crazy thing, it produced tomatoes for us. That’s how simple this can be. BUT…there are still some steps you need to take to have success. So let me continue teaching you.
If you pick the perfect plant, based on size and coloring, then just go ahead and plant it.
If you chose a plant that had a few yellow leaves on it, it is ok as long as those yellow leaves are along the bottom of the stem, not at the very top. Those yellow leaves come from a plant drying out, and then getting water again. They can also come from plants that are close together, and the bottom leaves just aren’t getting enough sun.
If you chose a really large plant, what I don’t do is, plant it in the ground in an upright positions. I trench it. This means, instead of digging a hole, create a small trench and lay your plant on it’s side. 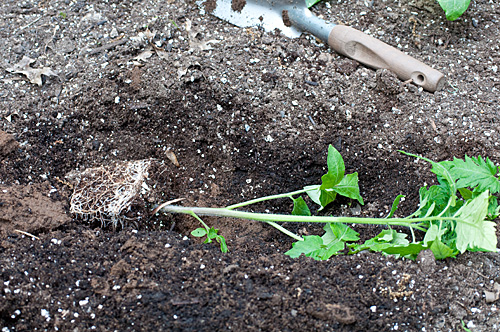 Then cover it with dirt half way up the stem. Tomato plants get roots all the way up the stem, so it will root into the ground that way. You can pinch the tomato if you want, but be sure to do so before there are any flowers on it. It will create it to become bushier, and promote new growth. If you decide to pinch it, be sure to only remove the small center at the top. It is important to still have lots of foliage on the plant after pinching. Do I pinch? No. I just keep things real simple, and basic.
Now, before you plant your tomatoes, be sure to work in a good fertilizer into your soil. Work it in at least 6 inches below the surface of the soil. I usually spread my fertilizer out and then till it in. I grow as organically as I can, so I use worm castings as my fertilizer. If you are local, you will definitely want to be using worm castings from Sueski’s Worm Farm (12620 Bell Rd. Caledonia, WI/ Mon,Wed,Fri 10am-6pm/ 262.835.4235/ Ask for Sue).

Sue Schimanski, Owner/Operator, Sueski’s Worm Farm
If you aren’t local, here is a very trusted Worm Castings Brand for you to try by Just Clicking Here.
Want to learn more about the benefits, and why I use Worm Castings over any other natural fertilizer? Then click here: My 7 Favorite Benefits From Using Worm Castings.
Now plant your tomato plants no deeper than 3 inches. Once they are planted, you just leave them and only water them when dry. When they are dry, soak them. They need water throughout their entire root system. By doing this, you should have to water very infrequently. If the surface of the soil looks dry, don’t be fooled. Be sure to put your finger into the soil, and check beneath the surface of the soil. If it is at all damp, don’t water it. That’s where a lot of gardeners go wrong. They just water it and water it and water it. Then the tomatoes get ‘wet feet’, and go KAPLOPP!! Wet feet are when the tomato plant gets too much water, and the roots literally start turning into mush. The plant will actually give an appearance that it is wilted, and needs water. Which makes it confusing, but don’t give in to that act it’s putting on. As long as you check beneath the surface of the soil for moisture this year, you should be in the clear of over watering your tomato plant. Once your plant shows the biggest symptom of being over watered, which is wilting, there is no bringing it back. You can learn more on overwatering by Just Clicking Here.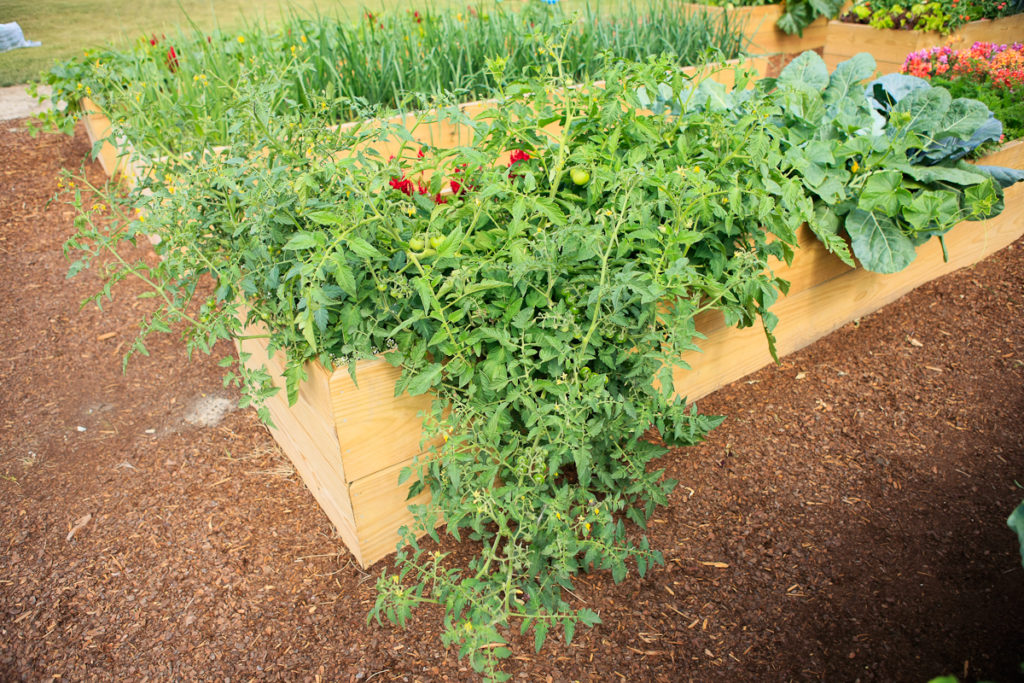
Now, we kept it simple so far, and our tomato plant is starting to pop up little baby tomatoes. We are very excited and eyeing them like a kid in a candy store. Once you see those little tomatoes, it is time to fertilize again. If you are using worm castings, you can just spread them out over the top of the soil. I take it one step further and I poke holes around the surface of the soil, then I spread my worm casting so that some fall in those little holes. Then I water it. If you aren’t going organic, then I suggest using a water soluble fertilizer at this point. Something that can soak right into the soil when you water it. You can get that fertilizer by Just Clicking Here.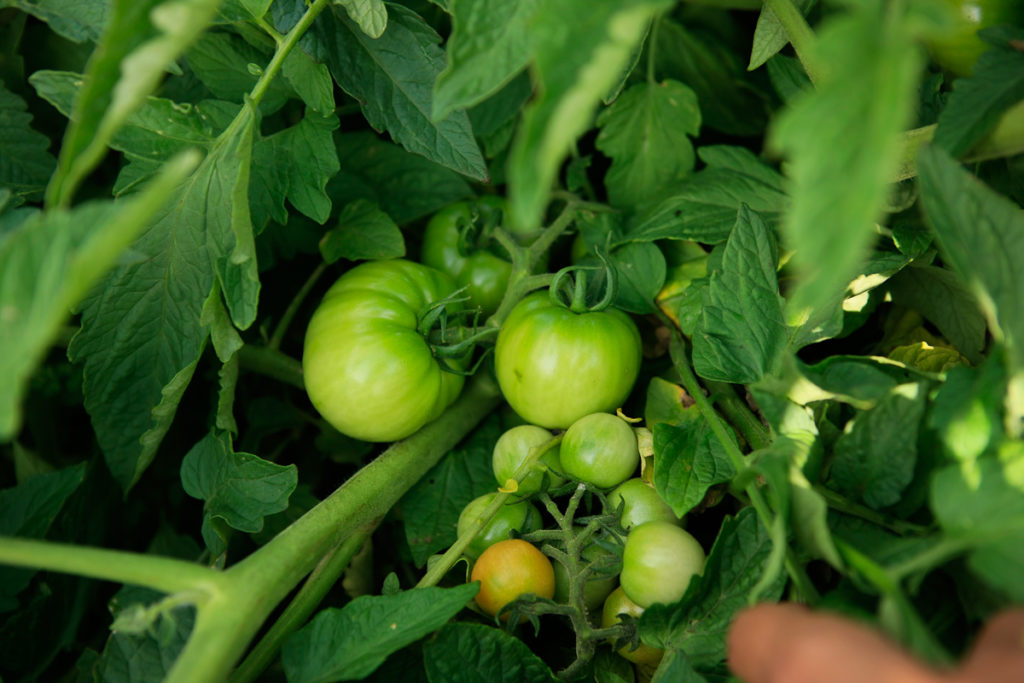
From then on, I fertilize lightly, every 2 weeks. If you have a sandy soil, nutrients tend to not stick around as long, so you may want to fertilize every 8-10 days.
Once you are enjoying your fruit, sometimes things can go wrong. All of a sudden your tomatoes are looking rotted. This isn’t a disease. This is what’s called, Blossom end rot. It is largely associated with a calcium imbalance. So let me give you some tips on how to manage this problem so you can go back to enjoying your fruit.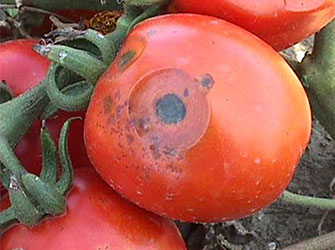
- Be sure you are watering properly. Which I have already gone over with you above.
- When you are fertilizing, be sure you are using a fertilizer for tomato plants. I could go into depth about how you need the ph of the soil to be 6.5 to 7.2, and what fertilizer numbers to look for, but then thats where it gets to be confusing for people. So lets keep this simple! Be sure to get a fertilizer that has a picture of a tomato on it. There. Easy enough. There’s no guessing games anymore. No fertilizer numbers that only horticulturalists know. Now days, everything is easy for the at home gardener. You can get your tomato fertilizer by Just Clicking Here.
- You can use a prevention spray before you even see signs of blossom end rot. You can get your prevention spray by Just Clicking Here.
- You could prevent it by adding calcium to your soil in Fall or early Spring, 2 months before planting. You can also add it right before planting, but keep in mind, it isn’t as effective then. If you are using fertilizer for tomato plants, there should be calcium in that fertilizer. This will result in bringing your soil to the correct ph to grow tomato plants successfully.
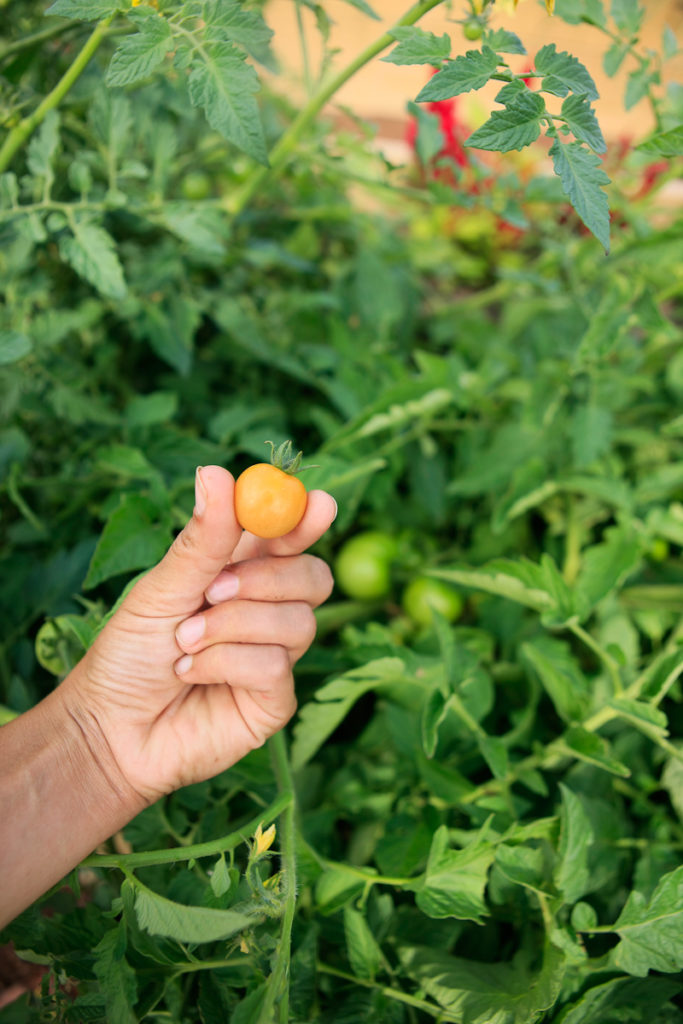
Now can we get back to enjoying our fruit?
This year, stop over thinking and get back to gardening. If you want more easy to learn articles on keeping it simple in the garden, then please subscribe!